

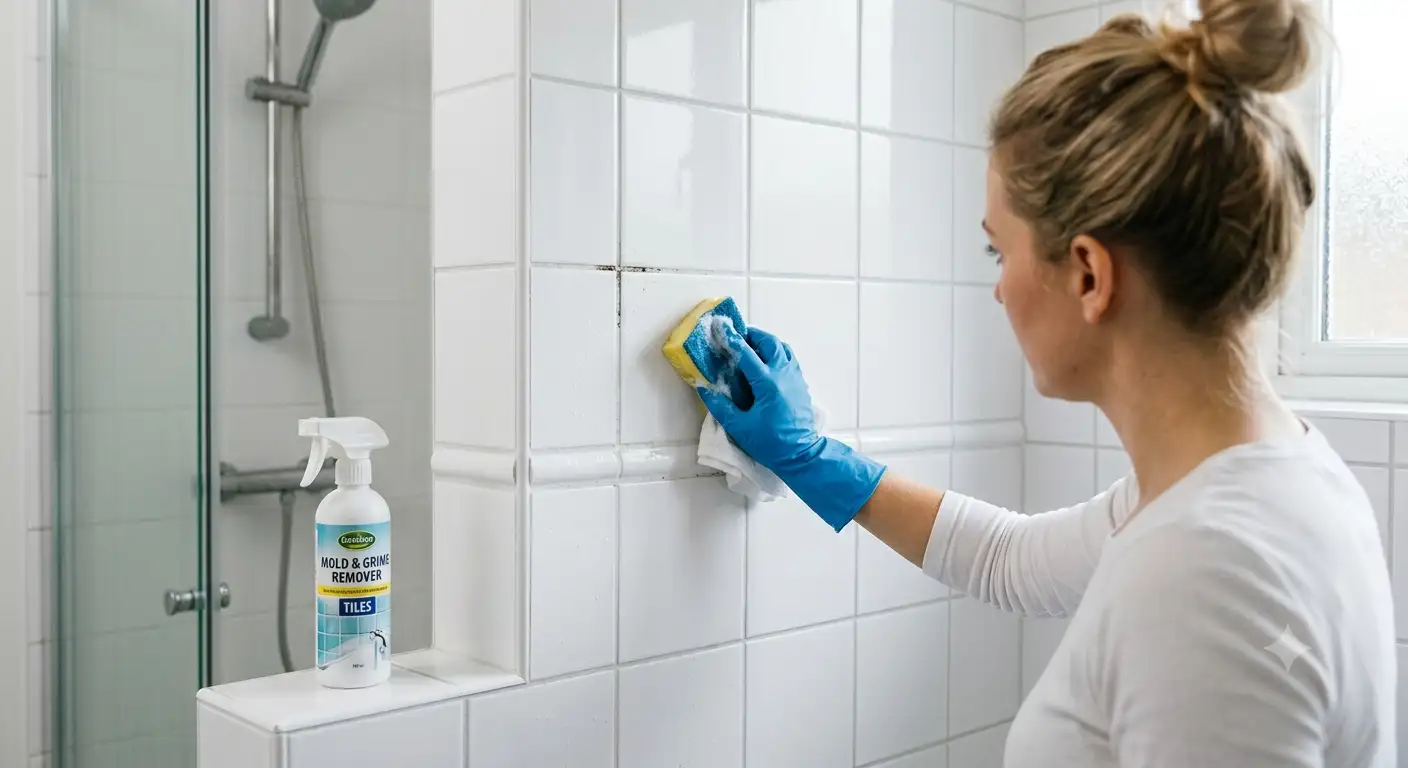
How to remove mould from bathroom tiles safely
To remove mould from bathroom tiles safely, apply a diluted bleach solution (1 part bleach to 10 parts water) or undiluted white vinegar to the affected grout and tiles, leave it to dwell for several minutes, then scrub with a grout brush and rinse thoroughly. Always ventilate the room and wear gloves and a mask before you begin.
Bathroom mould is one of the most common household problems in the UK — and it's easy to see why. A small, often windowless room that fills with steam daily is close to the ideal breeding ground. The good news is that most tile mould is entirely manageable yourself with the right approach. The important word is "safely", because removal done carelessly can create problems of its own.
Safety First: The Five Rules
- Ventilate the room by opening a window and keeping the door open, or running an extractor fan throughout the job.
- Wear gloves and a mask every time — even for small patches. The mould visible on the surface doesn't reflect how many spores are released once you start scrubbing.
- Never mix bleach with ammonia-based products. The reaction produces toxic chloramine gas — a genuine health hazard, not just bad practice.
- A diluted bleach solution (1 part bleach to 10 parts water) is highly effective on tiles; undiluted white vinegar is a gentler, still-effective alternative for grout.
- If mould keeps returning despite proper cleaning, the cause is almost always ventilation or damp — not the product you're using.
Why do bathrooms grow mould so readily?
Mould needs three things to establish itself: moisture, warmth, and a surface to feed on — and a typical bathroom offers all three in abundance. Every shower or bath releases a burst of humidity, tile grout provides a slightly porous surface that traps moisture longer than smooth tile, and unless the room is properly ventilated, damp air lingers rather than clearing.
Understanding this matters before you reach for a spray bottle, because it explains something important: cleaning mould off tiles without addressing why it appeared usually means it returns within weeks. Removal and prevention are two parts of the same job — not separate tasks. It's also why mould needs more than a regular wipe-down — embedded growth in porous grout sits below the level a routine surface clean reaches.
Is bathroom mould a health risk?
Yes — bathroom mould can pose genuine health risks, particularly for vulnerable individuals. According to UK government guidance, mould exposure is most commonly linked to breathing problems, including infections, allergies, and asthma flare-ups. The NHS notes that mould growth can cause or worsen respiratory infections and allergic reactions. Babies, young children, older people, and anyone with an existing respiratory condition are particularly vulnerable.
Serious, extensive damp and mould is treated under the Housing Health and Safety Rating System as a Category 1 hazard — the same classification band as asbestos. This doesn't mean a small patch of grout mould is a medical emergency. Most household mould, tackled properly and promptly, poses limited risk. But it does explain why safety precautions during removal aren't excessive — they're a sensible response to something that can genuinely affect breathing, especially for those in more vulnerable categories.
What kills mould on bathroom tiles?
Diluted bleach, white vinegar, hydrogen peroxide, and baking soda paste all kill mould on bathroom tiles — the right choice depends on the surface affected and how sensitive you are to strong chemical smells. Here's how the four main options compare:
| Method | Mix | Dwell time | Best for | Caution |
|---|---|---|---|---|
| Diluted bleach | 1:10 with water | 5–10 minutes | Tiles, white grout | Can discolour coloured grout; never mix with ammonia |
| White vinegar | Undiluted | Around 1 hour | Porous grout | Avoid on natural stone |
| Hydrogen peroxide (3%) | Neat spray | 2–3 hours | Stubborn patches | Ventilate well |
| Baking soda paste | Paste with water | 10–15 minutes | Chemical-sensitive homes | Gentlest, but slowest acting |
Diluted bleach solution
A diluted bleach solution remains one of the most effective options for tiles specifically. Mix roughly one part bleach to ten parts water in a spray bottle, apply it to the affected grout or tile surface, and leave it to sit for several minutes before scrubbing with an old toothbrush or grout brush, then rinse thoroughly. Never use bleach undiluted directly on tiles — full-strength bleach can cause discolouration, particularly on coloured grout or natural stone.
White vinegar
White vinegar is a gentler alternative, preferred by many for regular maintenance — and it kills most common household mould species rather than just bleaching the stain. Applied undiluted directly to the mould and left to sit for around an hour before wiping and rinsing, it works particularly well on grout: the acidity helps break down mould embedded in the porous surface, rather than just sitting on top of it. It also carries no discolouration risk and no bleach smell. Bleach tends to be slightly more effective on visible surface staining; vinegar is better suited to porous grout and households sensitive to strong chemicals. Both are legitimate first-line options.
Hydrogen peroxide
Spray 3% hydrogen peroxide directly onto the mould, keep the room well ventilated, and leave it for two to three hours before wiping clean. It can be combined with a small amount of vinegar for added effectiveness on stubborn patches.
Baking soda paste
A paste made from baking soda mixed with a small amount of water is the gentlest common option. It works reasonably well on both porous grout and smooth tile, making it a sensible choice where stronger chemical smells are a concern.
How to remove mould from bathroom tiles and grout: step by step
Whichever product you choose, the general process is broadly the same:
- Ventilate the room — open a window, run the extractor fan, or keep the door open.
- Put on gloves and a mask before touching any mould.
- Apply your chosen solution generously to the affected tiles and grout lines, coating the mould itself.
- Allow it to dwell for the recommended time — this is what breaks down the mould, rather than spreading it.
- Scrub along grout lines with an old toothbrush or grout brush, then work across the tile surfaces.
- Rinse thoroughly and dry the area — residual moisture is exactly what lets mould re-establish.
- Repeat if necessary for stubborn patches; a grout whitener can lift any staining left behind.
Tip: Work in manageable sections rather than tackling an entire bathroom at once — particularly when using bleach. Treating one wall at a time keeps the room properly ventilated, gives the solution time to work without drying out, and makes a large job more manageable.
How to stop mould coming back
Removal without prevention is a temporary fix. Bathroom mould can re-establish itself quickly in the right conditions, so prevention deserves equal attention to the cleaning itself:
- Run an extractor fan during and for a sustained period after every shower or bath.
- Open a window whenever practical — including in colder months, when the instinct is to keep everything sealed.
- Wipe down tiles and glass after showering — even a quick squeegee pass removes much of the standing moisture that would otherwise linger overnight.
- Keep the bathroom door closed while showering, then open afterwards to help the room dry out and let air circulate.
- If humidity persists despite reasonable ventilation habits, a small dehumidifier can help — particularly in bathrooms without a window or with a weak extractor fan.
When does bathroom mould signal a bigger problem?
Persistent mould that returns within weeks of a thorough clean — despite reasonable ventilation habits — usually signals an underlying moisture problem that hasn't been addressed. Common causes include:
- A failing or inadequate extractor fan
- A hidden leak behind tiles or under flooring
- Genuinely poor ventilation for how the room is used
If mould is spreading beyond tiled areas into surrounding plaster or ceiling, or growing back rapidly after repeated cleaning, the underlying cause warrants investigation rather than continued surface treatment. For context, professional mould removal in the UK averages around £168 per room, with damp surveys typically costing £100–£250. Where the problem is heavy soiling and embedded grime rather than structural damp, specialist bathroom deep cleaning is often the more proportionate — and considerably cheaper — starting point.
Renting in the UK: who is responsible for bathroom mould?
In rented properties, responsibility for mould depends on its cause — and the rules have recently tightened in tenants' favour. Under the Homes (Fitness for Human Habitation) Act 2018, landlords must ensure rented properties are free from serious damp and mould. Under Awaab's Law, social landlords have been required since October 2025 to investigate emergency hazards within 24 hours and address significant damp and mould hazards within fixed timeframes — and from 2026, these requirements extend to private landlords too.
Tenants, however, carry a reasonable duty to ventilate and heat the property adequately. In practice:
- Surface-level mould that responds to regular cleaning and normal ventilation habits is generally considered day-to-day upkeep.
- Mould linked to a structural or maintenance issue — a leak, broken extractor fan, or genuine damp problem — is the landlord's responsibility to fix.
If you're a tenant dealing with mould that keeps returning despite reasonable effort, raise it with your landlord in writing — Awaab's Law timescales run from the date of the written report, so a phone call alone doesn't start the clock. If the landlord fails to act, you can ask your local council's environmental health team to inspect. And if you'd like an honest opinion on whether the problem is cleaning-level or something more serious, ask us to assess the affected area — we'll tell you plainly which it is.
Frequently Asked Questions
Is it safe to use bleach on bathroom grout regularly?
Yes, provided it's properly diluted (around 1 part bleach to 10 parts water) and the room is well ventilated. Avoid undiluted bleach on tiles, as it can cause discolouration — and never combine bleach with ammonia-based products under any circumstances.
Why does mould keep coming back even after I clean it properly?
Persistent regrowth despite proper cleaning usually points to an underlying moisture problem rather than a cleaning failure. Inadequate ventilation, a weak or broken extractor fan, or a hidden leak are the most common causes and need to be addressed directly — not just cleaned over repeatedly.
Is vinegar or bleach more effective against bathroom mould?
Both work well. Bleach tends to be slightly more effective on visible surface mould and staining, while vinegar is gentler, avoids the risk of discolouration, and works particularly well on mould embedded in porous grout.
Does Awaab's Law apply to private landlords?
Yes — from 2026. Awaab's Law initially applied to social landlords from October 2025, requiring emergency hazards to be investigated within 24 hours and significant damp and mould hazards to be addressed within fixed timeframes. These requirements are being extended to private landlords from 2026. The timescales run from the date of a written report, so always report mould in writing.
Can I remove black mould from bathroom tiles myself?
In most cases, yes. Black mould on bathroom tiles and grout can be treated using a diluted bleach solution or undiluted white vinegar, following the step-by-step process above. If it covers a very large area, appears in walls or ceilings beyond tiled surfaces, or keeps returning despite thorough cleaning, professional assessment is advisable.
How long should I leave bleach on bathroom mould before scrubbing?
Allow the diluted bleach solution to sit on the mould for at least five to ten minutes before scrubbing. This dwell time is what allows the solution to break down the mould effectively, rather than simply spreading it across the surface.